Area Schedule by Week report
About the report
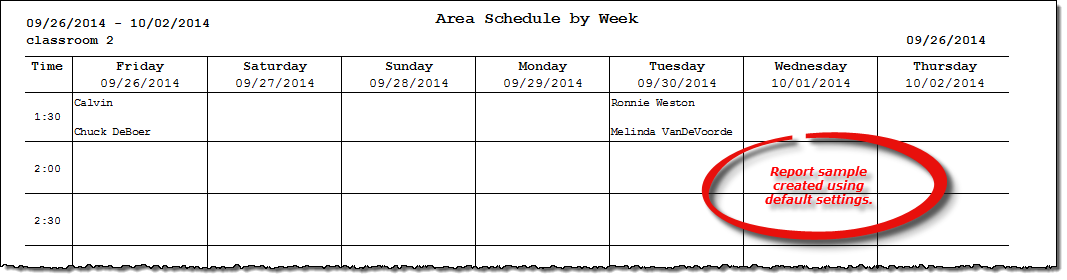
This report lists all scheduled students/instructors for selected area and week.
Run the report
- On the Report Catalog window - Scheduling tab, select Area Schedule by Week.
- Click Run. The Area Schedule by Week window displays.
- Select an area to report on or select All Areas in the Areas box.
- Select a location to report on or select All Locations in the Locations box.
- Enter a date in the Beginning Date box. The report will include this date an the next six to print a weekly view of the area schedule.
- Select Print Areas With No Activity to include any areas that do not have schedule classes. Any area with at least one scheduled class is automatically included when All Areas is selected in step 3.
Hint: To save your report settings, right-click on the window and select Save New Report Preferences. The next time you run the report, you can right-click on the window and select the saved preferences without re-entering all of the report criteria.
- Click OK. The Select Output Destination window displays.
- Select your desired output destination and click OK. The report is sent to print preview, a printer, a file location, or email, depending on your report output selections.
Did you know? To quickly enter today's date in any Date boxes, press T on your keyboard. To quickly back-date or forward-date by one day, use the Hyphen key (-) and Equal key (=) on your keyboard (alternatively, use the Minus Sign and Plus Sign keys on your keyboard number pad). To quickly back-date or forward-date by one month, use the Page Up and Page Down keys on your keyboard. Press F6 to display a calendar and select a date.
Diagrams
The following thumbnail illustrates the Area Schedule by Week report. Click the thumbnail to view an interactive image.